Refurbishing an Old Toshiba Laptop
By Prithvi Vishak
Created June 20th, 2021
After watching some videos on YouTube about people refurbishing old, broken computers, I thought it would be fun to give it a try. The only problem was that I didn't have any old, broken computers with me. Either way, I brought up the idea with my friends Aryan and Chirag. Sure enough, Chirag had an ancient Toshiba laptop sitting in his basement which didn't work anymore. I asked if the three of us could try restoring it. He was fine with it.
Yay!
Fast-forward to the next day. Chirag brought the laptop to my house, and, well, yikes. Apparently, it hadn't worked in five years. What's worse, it had been sitting, exposed to the elements, in his basement for three of those five. Since we really like looking at computer guts, we didn't bother plugging it in and trying a smoke test. We started attacking it with a screwdriver.

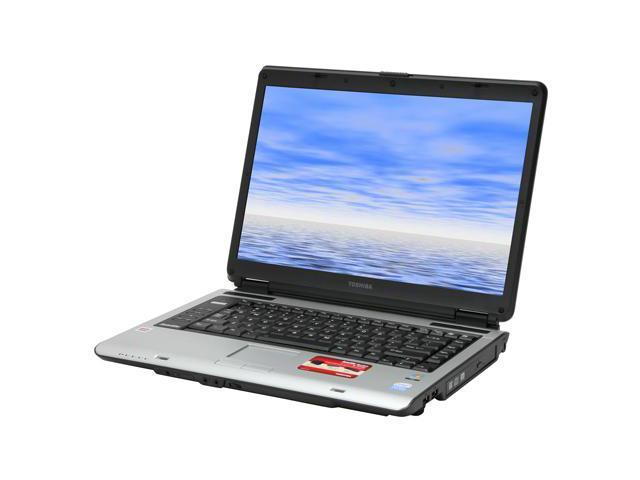
Yes, I forgot to take a picture. So here's a stock photo.
The plastic was so degraded and brittle that it pretty much disintegrated when we loosed the screws (By the way, this had regular philips screws holding it together. None of that proprietary tamper-proof nonsense here). Anyway, twenty-or-so screws later, we had everything taken apart. After fiddling around with the RAM sticks (It's always fun popping them out and slotting them in again), and wiping off some of the dust and grime, we wondered what to do next.
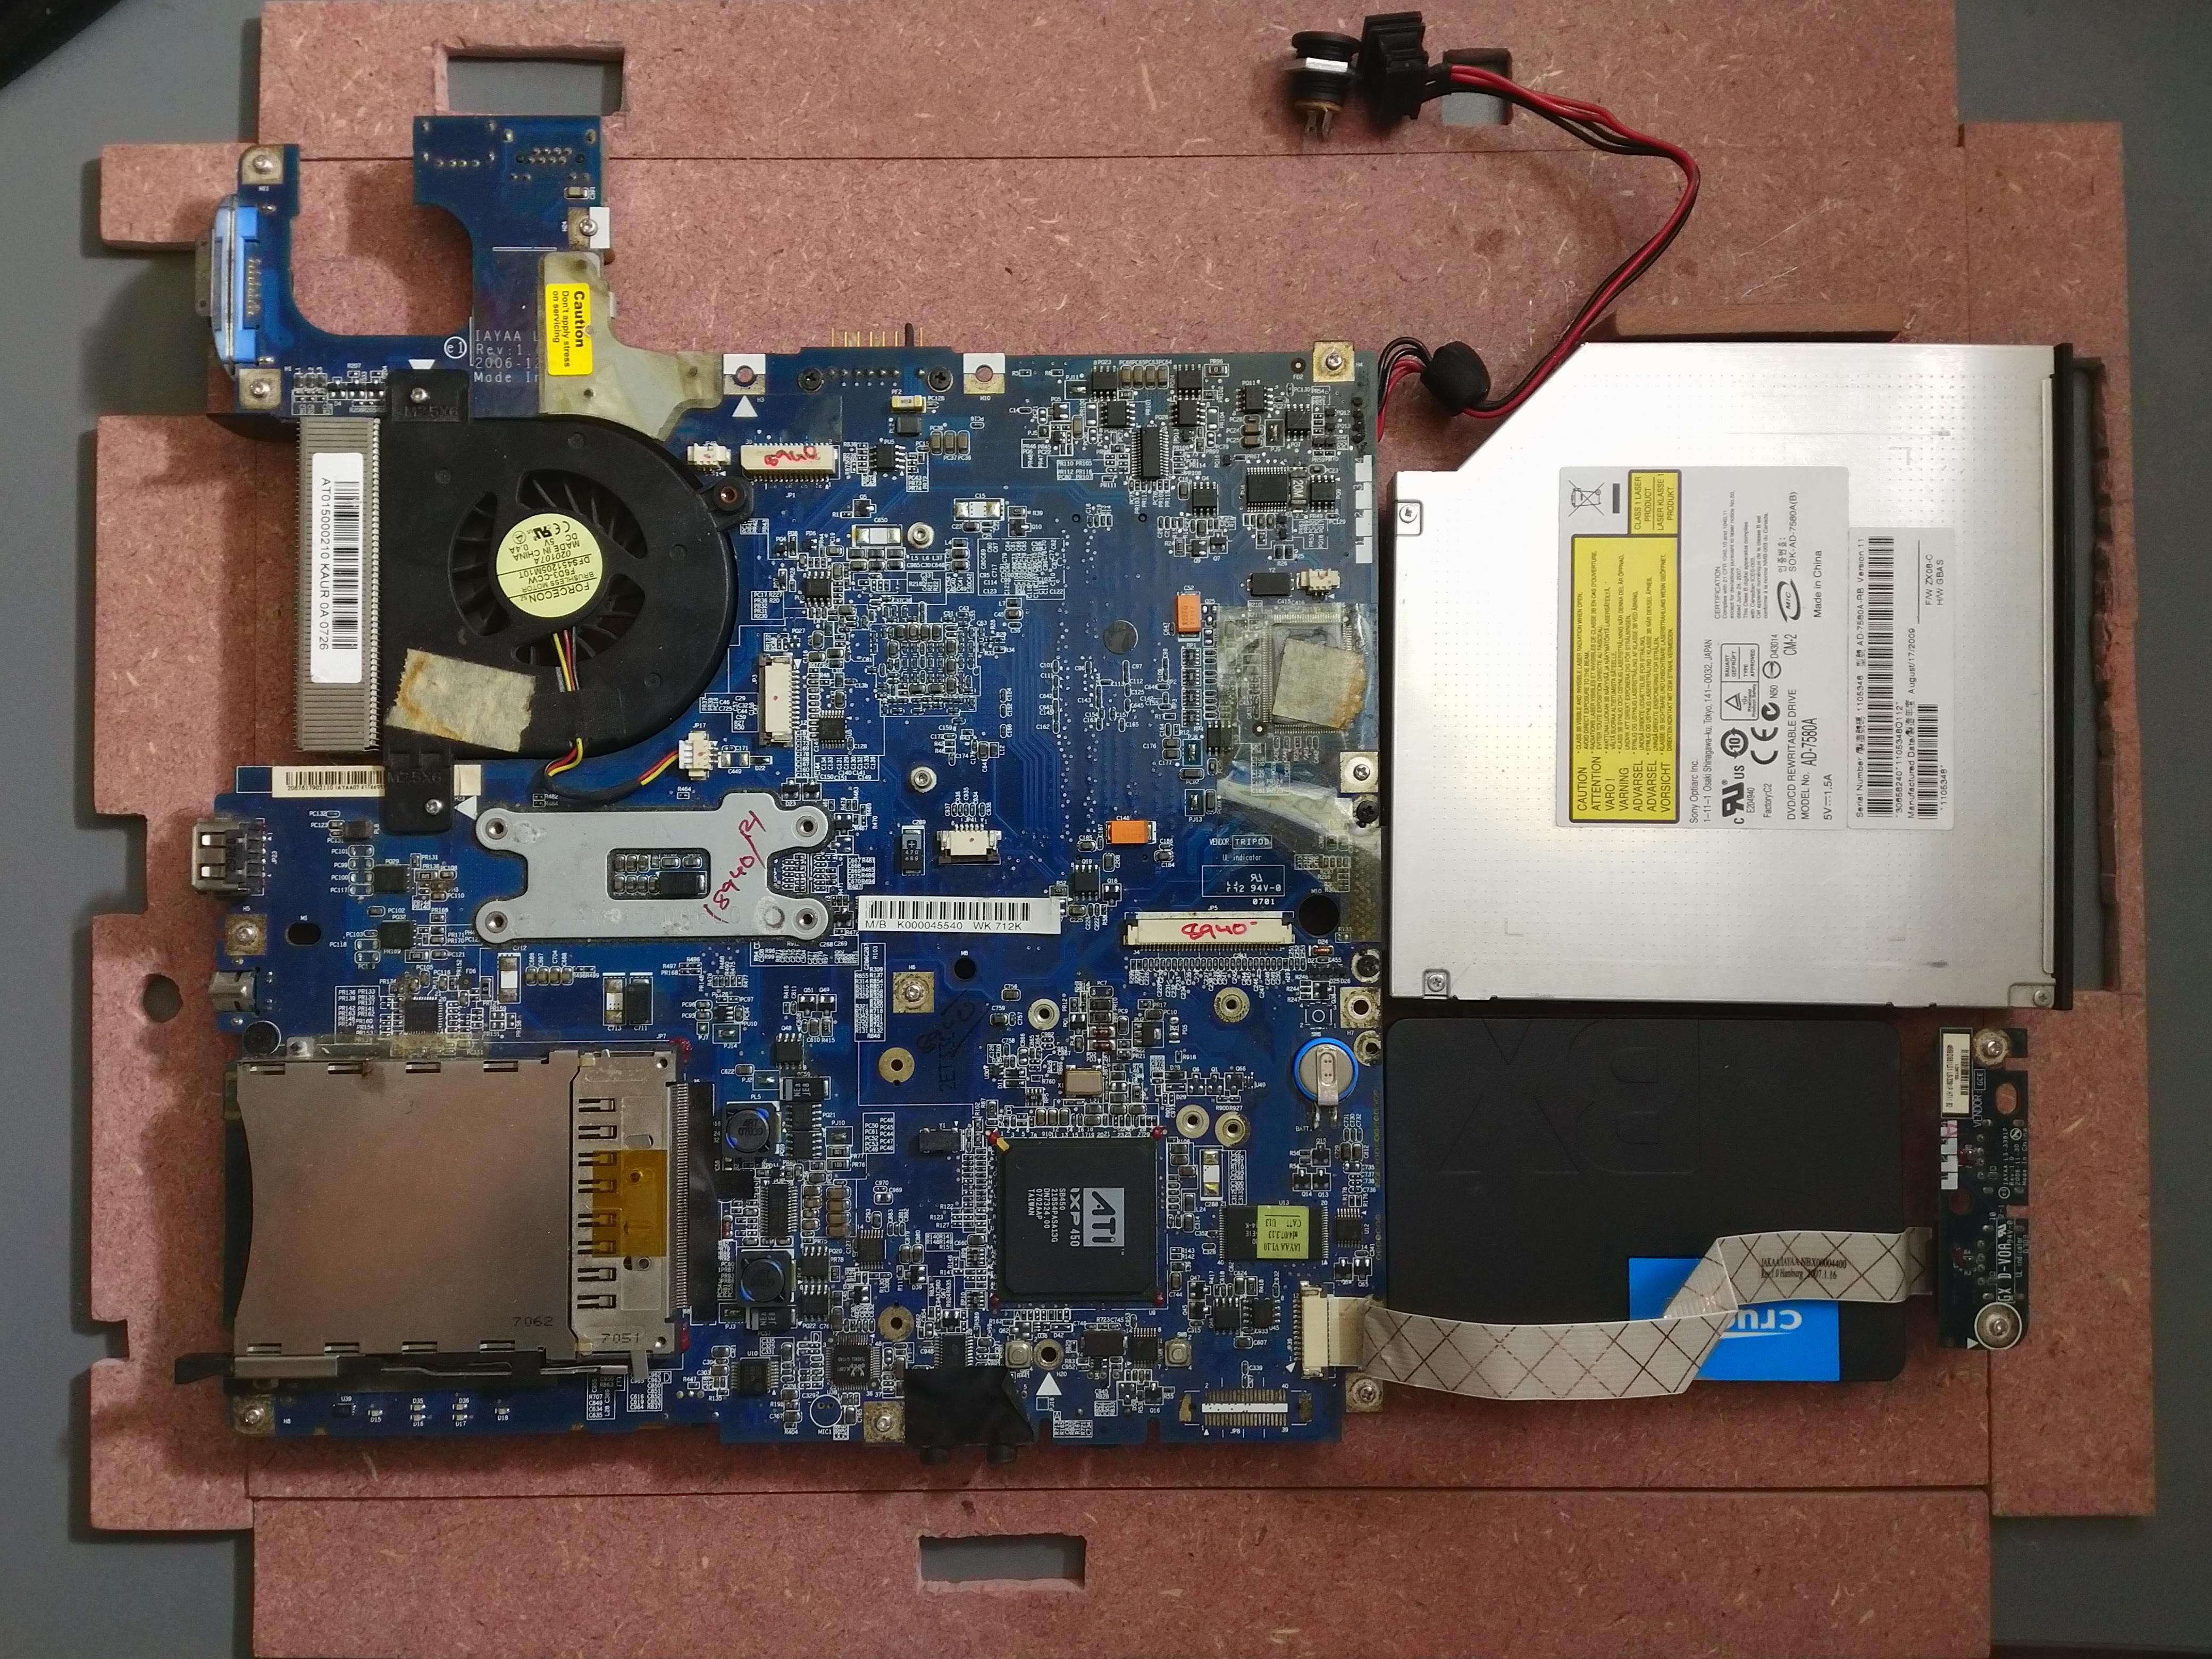
It was nice to see a socketed CPU on a laptop, along with replacable RAM, WiFi, HDD, and optical drive. It had some odd-looking ports and slots, which I later learned were S-Video and PCMCIA. It had four USB 2 ports, one ethernet port, and a VGA out.
Anyhoo, smoke test time. We hooked everything up, and saw the charging light come on. No magic smoke. Phew. Then for the power button. GRRRRRIIIIIIIND went the fan for about two seconds. Then the power light. But nothing on the screen.
Okay. Seemed to at least be POSTing. Maybe the screen was shot. I plugged it in to my monitor through VGA, and did and powered it up again.
YASSS! A splash screen with Toshiba's and Intel's logo, followed by "Starting Windows". It's interesting how it displayed the splash screen even on an external monitor. Once it booted up, we found our way to the System Information section on Microsoft Windows Vista Home Basic.
Apparently, it was a Toshiba Satellite A135, sporting an Intel Pentium T2060 (32-bit), paired with 3GB of RAM and an ATI Radeon graphics card. Our next thought came to what we could do with it now that it worked. Aryan and I, being Linux users, suggested that we put Linux on it. Chirag said that it was okay, so we combed through the filesystem for any important files before wiping it.
We wanted to try out Peppermint OS, so we flashed it to a thumb drive on my computer, and plugged it in. Rebooting the computer gave use the keys for accessing the BIOS menu, which, thankfully, was still displayed on an external monitor. It booted to it, and installed in about twenty minutes. Still faster than Windows on a modern computer.
After a reboot, we found that Peppermint was super laggy. Not really wanting to give it another chance, we went for Zorin OS Lite. This was much better (still a little laggy, but way smoother).

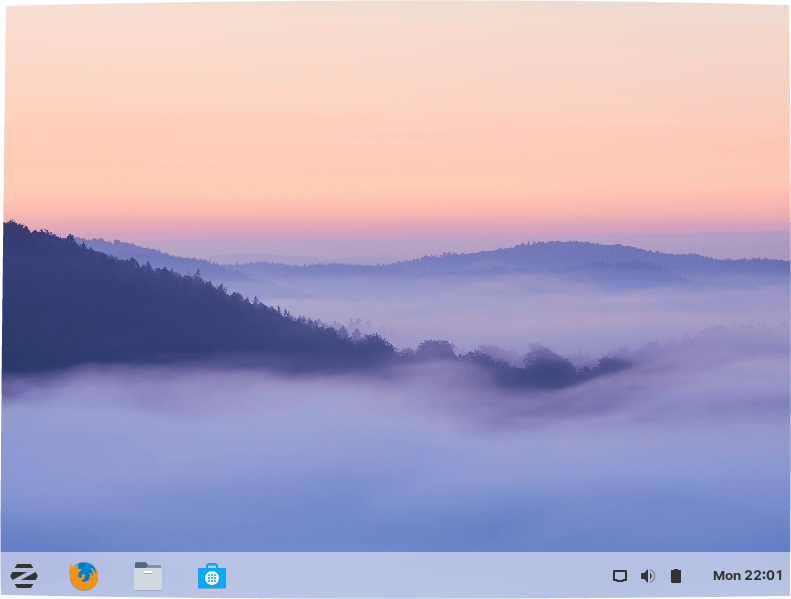
Looks better than Windows, works better than Windows, is better than Windows. Image credit zorinos.com.
With the software out of the way, our attention turned to the hardware. There was no way the electronics were going back into the old plastic casing. The only other option was to build an MDF box for it all. We decided to shed the batteries, keyboard, trackpad, and of course, the display. We ordered the cheapest SSD on Amazon to replace the old HDD.
With finalized dimensions for the insides, we measured everything out and started cutting the MDF. But alas, laziness got the better of us, and we eventually got a carpenter to spend five seconds making neat, straight cuts for all six faces.
After drilling out the ports, we painted it it with the only enamel paint we had. The computer itself was secured to the bottom face with some brass standoffs I had. The other parts were secured in place with MDF guides and tape (What? Redneck engineering is still engineering). All the pieces were first hot-glued, then wood-glued, together. The top was fixed to the rest of the case with some velcro.

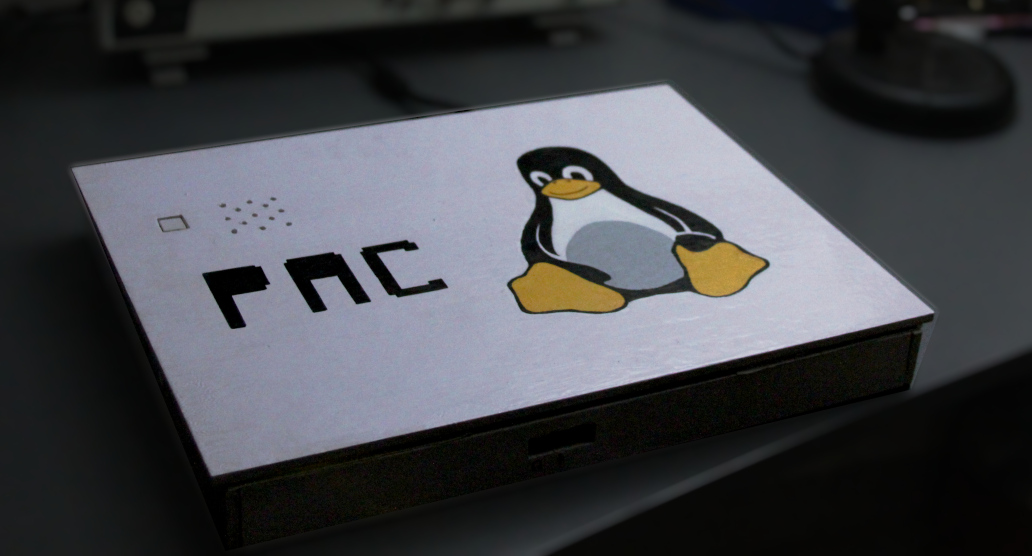
Better than sitting in a basement for the rest of eternity
In the meantime, I found that the power jack wasn't very reliable. Probing the plug told me that there was a steady 19V coming out of it, so it was probably the jack. It was so, so lucky that it happened to be a standard 5mm jack. I had a spare one lying around, so I snipped the old one off and replaced it. Still unreliable. Then, I snipped off the plug and replaced that too. Worked great. I now realize that arcing between the plug and the jack might have oxidized them over time. A good thing to keep in mind when facing power issues.
Anyway, we decided to christen it the "PAC", from our initials. You can probably now tell that we took about five seconds to think of that. Aryan, the artist among us, painted on the new name beside Tux. It was finally complete.

Glory
But of course, we wanted more speed, so we put openSUSE Tumbleweed on it, and it was a fair bit faster. Other than that, no major improvements have taken place. I considered upgrading the RAM in it because the processor supports PAE, but decided against it because the processor is too slow to run anything that might need any more RAM.
That's all for now. I wrote this article to say that there is still life left in computers over 13 years old, which is what today's companies (I'm looking at you, Apple) don't want you to know. If you have an old computer lying around, consider putting Linux on it. If you don't want to, I'll gladly take it off your hands.